Follow

Follow
What about building a CMS, let's Twill

What about building a CMS, let's Twill

Codivores's photo
Codivores
·Aug 19, 2021·

11 min read

In this article, we will see

Installation and configuration

Dependencies installation

Twill comes as a Laravel package that can be installed via Composer. You can refer to the official documentation for more information.

composer require area17/twill:"^2.0"

Twill installation

What does that mean?

Twill installation will

  • Create configuration files
    • twill.php: global configuration of the package
    • twill-navigation.php: configuration for the administration menu
    • translatable.php: Twill uses astrotomic/laravel-translatable package to handle multi-language content
  • Create an admin.php route file to declare the routes of our modules
  • Publish the assets of the administration interface (Twill is built with Vue.js)
  • Migrate all the package tables: admin users, settings, medias, blocks, activity logs, ...
  • Prompt for a superadmin account creation (you can create it or new ones later with this command php artisan twill:superadmin)

If you want to change the table names, create the twill.php config file before proceeding to the installation to define your custom names.

Default table names

    'users_table' => 'twill_users',
    'password_resets_table' => 'twill_password_resets',
    'users_oauth_table' => 'twill_users_oauth',
    'blocks_table' => 'blocks',
    'features_table' => 'features',
    'settings_table' => 'settings',
    'medias_table' => 'medias',
    'mediables_table' => 'mediables',
    'files_table' => 'files',
    'fileables_table' => 'fileables',
    'related_table' => 'related',
    'tags_table' => 'tags',
    'tagged_table' => 'tagged',

We generally adapt the table names to set admin prefix instead of twill for admin users and add content prefix for all other tables except the settings and activity_logtables.

/config/twill.php

<?php

return [

    /*
    |--------------------------------------------------------------------------
    | Twill default tables naming configuration
    |--------------------------------------------------------------------------
    |
     */
    'users_table' => 'admin_users',
    'password_resets_table' => 'admin_password_resets',
    'users_oauth_table' => 'admin_users_oauth',
    'blocks_table' => 'content_blocks',
    'features_table' => 'content_features',
    'settings_table' => 'settings',
    'medias_table' => 'content_medias',
    'mediables_table' => 'content_mediables',
    'files_table' => 'content_files',
    'fileables_table' => 'content_fileables',
    'related_table' => 'content_related',
    'tags_table' => 'content_tags',
    'tagged_table' => 'content_tagged',

];

Ok, let's do it

We have an email adress (no mail will be sent) and a password, we are now ready for the install process, we can now run the following command:

php artisan twill:install

Where is my Twill

The administration interface is available by default as a admin subdomain of your APP_URL environment variable (defined when you installed Laravel in your /.env file).

Twill allows you to have it available where you want with environment variables:

  • For a full dedicated domain: set a ADMIN_APP_URL environment variable with the URL (ex: ADMIN_APP_URL=tech.codivores.com)
  • As a subdirectory of your main domain: set a ADMIN_APP_PATH environment variable with the name of the subdirectory (ex: ADMIN_APP_PATH=administration). And also a ADMIN_APP_URL environment variable with the same domain as your APP_URL if you don't adapt the configuration as we will do in the next lines.

In most cases, we make the administration available as a subdirectory and adapt the Twill configuration file this way (setting the administration URL to the same as the application URL and defining a default administration subdirectory name):

/config/twill.php

return [

    /*
    |--------------------------------------------------------------------------
    | Application Admin URL
    |--------------------------------------------------------------------------
    |
    | This value is the URL of your admin application.
    |
     */
    'admin_app_url' => env('ADMIN_APP_URL', env('APP_URL')),
    'admin_app_path' => env('ADMIN_APP_PATH', 'administration'),

];

Depending on our clients, we set the ADMIN_APP_PATH environment variable in the .env file (or as an OS environment variable) with the name they want (and that is not too obvious for an administration interface).

We can now go to http://localhost/administration in a browser and see the login page.

Twill login

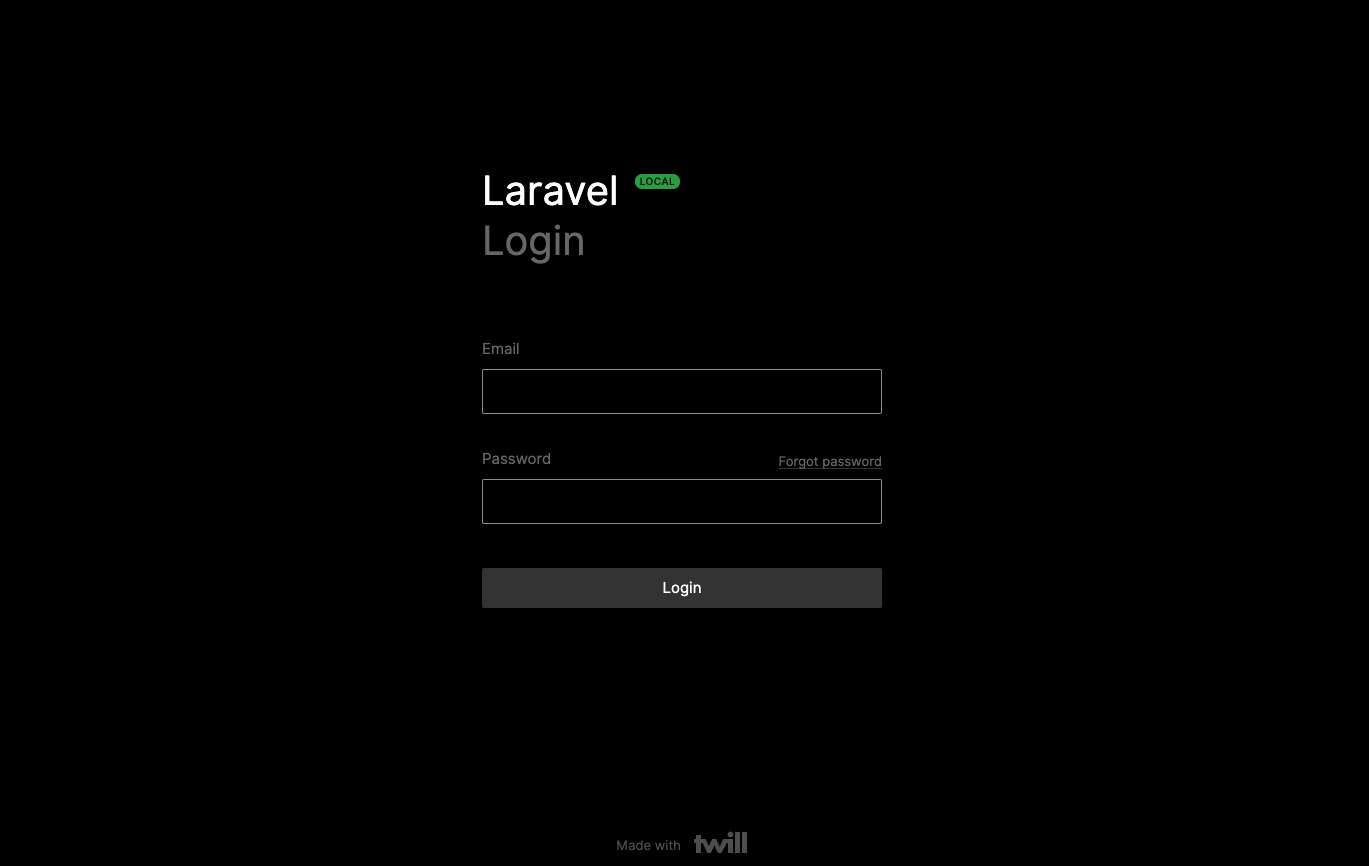
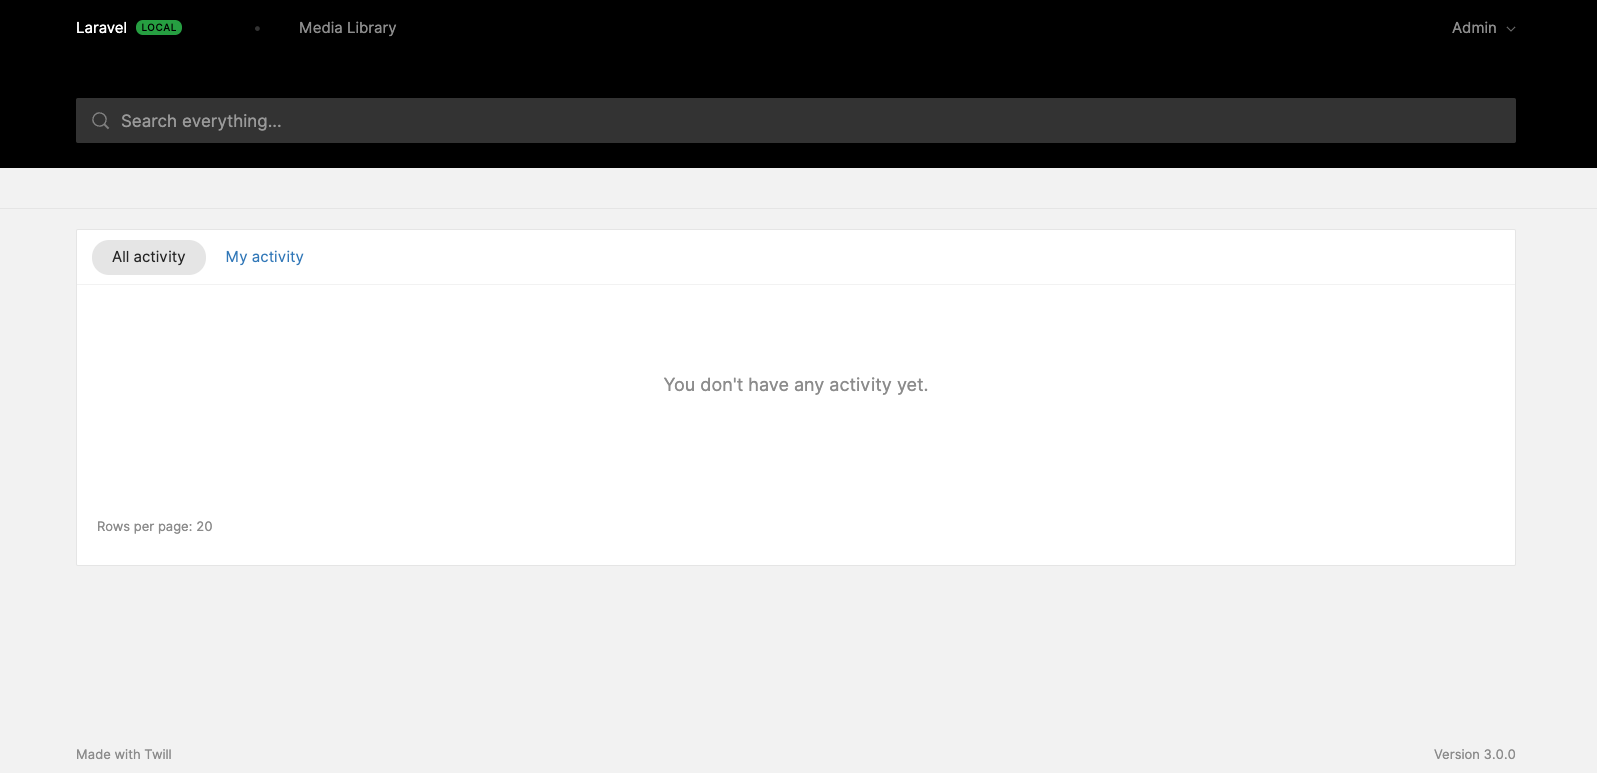
Filling the login form with the superadmin email and password we set earlier, we can see a beautiful empty administration interface 🙌.

Twill empty dashboard

Multi-language configuration

Twill allows to you to manage your content in multiple languages and also have the administration in different languages.

Multi-language in the Front

Just add your locales in the locales array of the astrotomic/laravel-translatable package configuration file. We will just add French besides the default English locale for the exemple.

/config/translatable.php

<?php

return [

    /*
    |--------------------------------------------------------------------------
    | Application Locales
    |--------------------------------------------------------------------------
    |
    | Contains an array with the applications available locales.
    |
     */
    'locales' => [
        'en',
        'fr',
    ],

Multi-language in the Back

Twill handle some locales for the administration interface (at this time: en, fr, pl, de, nl, pt, zh-Hans, ru - feel free to contribute and add yours).

Admin users can choose their language on their profile page, but you can change the default en in the Twill configuration file if you want.

/config/twill.php

<?php

return [

    /*
    |--------------------------------------------------------------------------
    | Twill app locale
    |--------------------------------------------------------------------------
    |
     */
    'locale' => 'fr',

Ready to create content?

In Twill terminology, a Module represents all the files needed to manage a content type: Models (with migrations), Repository, Controller, Request and Form view.

A Module can be initiated with the CLI generator, if we look at the official documentation, we see it's an artisan command that take options:

php artisan twill:module moduleName {options}

The moduleName is the singular name of your content and Twill generates some files with plural name (so avoid news as it already ends with a s and will broke some functionalities).

The options are (taken from the official documentation):

--hasBlocks (-B), to use the block editor on your module form

--hasTranslation (-T), to add content in multiple languages

--hasSlug (-S), to generate slugs based on one or multiple fields in your model

--hasMedias (-M), to attach images to your records

--hasFiles (-F), to attach files to your records

--hasPosition (-P), to allow manually reordering of records in the listing screen

--hasRevisions(-R), to allow comparing and restoring past revisions of records

Twill is amazing for this as you can choose the features you want to have available for your content, keeping simple content simple. All works with PHP Traits and additional classes, so if you forget an option, you can add it later based on sample codes.

Let's create our first Module to handle static pages

We will call this Module page and we will need Blocks (to have flexible content), Translations, Slugs, Position (to order them in the administration) and Revisions (we will not attach Medias and Files directly but maybe through Blocks):

php artisan twill:module page -BTSPR

The output we can see in our terminal:

Migration created successfully! Add some fields!
Models created successfully! Fill your fillables!
Repository created successfully! Control all the things!
Controller created successfully! Define your index/browser/form endpoints options!
Form request created successfully! Add some validation rules!
Form view created successfully! Include your form fields using @formField directives!
Add Route::module('pages'); to your admin routes file.
Setup a new CMS menu item in config/twill-navigation.php:

            'pages' => [
                'title' => 'Pages',
                'module' => true
            ]

Migrate your database.

Enjoy.

It creates the following files in your application:

Twill module files structure

What next

  • Add the Routes and menu according to the structure your want
  • Customize the fields of the Model and the form accordingly
  • Customize the admin Controller if needed

Route and menu management

As the CLI generator told us, we have to add the module routes in our admin routes files:

/routes/admin.php

<?php

use Illuminate\Support\Facades\Route;

Route::module('pages');

and define the navigation in the administration menu:

/config/twill-navigation.php

<?php

return [

    'pages' => [
        'title' => 'Pages',
        'module' => true,
    ],

];

In order to be able to see our Module administration interface without triggering an error, we need to execute the migration via php artisan migrate. We will do it later as we want to customize the attributes of our model, but here is an example of what you will see:

Twill navigation base

This configuration add our Module on the global navigation (first level of the menu), but we have to organize our menu, so we will modify this configuration to access to our Module as a primary entry of a global menu Content (with Twill, you can have up to 3 levels for your menu):

/routes/admin.php

<?php

use Illuminate\Support\Facades\Route;

Route::group(['prefix' => 'content'], function () {
    Route::module('pages');
});

/config/twill-navigation.php

<?php

return [

    'content' => [
        'title' => 'Content',
        'route' => 'admin.content.pages.index',
        'primary_navigation' => [
            'pages' => [
                'title' => 'Pages',
                'module' => true,
            ],
        ],
    ],

];

What it does

For the route, using standard Laravel routing, we encapsulate our Module routes definition in a group with the content prefix. As Twill routes already add admin prefix, our Module routes names will start with admin.content.pages

For the Twill navigation, we encapsulate our menu definition in a content block which has the following attributes:

  • title: the text displayed in the menu
  • route: the route name of the page that will be displayed on click, for now, we want the index of our Module
  • primary_navigation: the list of the submenus

Twill navigation organized

Model customization

The migration, model and form files created by the generator is a template with default fields.

In our case we want:

  • a title that can be translated
  • meta title and description that can be translated
  • the position to order our pages in the listing of the administration interface
  • a block editor for all the content (we will focus on this part in a later article)

Here is what final files look like.

/database/migration/..._create_pages_table.php

<?php

use Illuminate\Database\Migrations\Migration;
use Illuminate\Database\Schema\Blueprint;

class CreatePagesTables extends Migration
{
    public function up()
    {
        Schema::create('pages', function (Blueprint $table) {
            createDefaultTableFields($table);
        });

        Schema::table('pages', function (Blueprint $table) {
            $table->integer('position')->unsigned()->nullable()->after('id');
        });

        Schema::create('page_translations', function (Blueprint $table) {
            createDefaultTranslationsTableFields($table, 'page');
        });

        Schema::table('page_translations', function (Blueprint $table) {
            $table->string('title', 1000)->nullable()->after('page_id');
            $table->string('meta_title', 100)->nullable()->after('title');
            $table->text('meta_description', 200)->nullable()->after('meta_title');
        });

        Schema::create('page_slugs', function (Blueprint $table) {
            createDefaultSlugsTableFields($table, 'page');
        });

        Schema::create('page_revisions', function (Blueprint $table) {
            createDefaultRevisionsTableFields($table, 'page');
        });
    }

    public function down()
    {
        Schema::dropIfExists('page_revisions');
        Schema::dropIfExists('page_translations');
        Schema::dropIfExists('page_slugs');
        Schema::dropIfExists('pages');
    }
}

As the createDefault...() functions create the timestamp and soft delete columns, we use an update of the structure to add our columns in a more pleasant order but it's not a requirement, you can define your columns in the create method

We can now run our migration to create the tables for our Module:

php artisan migrate

/app/Models/Page.php

// ...
    protected $fillable = [
        'published',
        'title',
        'meta_title',
        'meta_description',
        'position',
    ];

    public $translatedAttributes = [
        'title',
        'meta_title',
        'meta_description',
        'active',
    ];
// ...

Twill uses Laravel Eloquent mass assignment, so we need to declare all our attributes in the fillable property, and the translatable attributes in the translatedAttributes property (it's a common mistake to forget to add our attributes or a new one created after as Twill won't trigger an error when you edit your content, but your value will not be saved)

/resources/views/admin/pages/form.blade.php

@extends('twill::layouts.form')

@section('contentFields')
    @formField('block_editor', [
        'withoutSeparator' => true,
        // 'blocks' => []
    ])
@stop

@section('sideFieldsets')
    @formFieldset([ 'id' => 'seo', 'title' => 'SEO'])
        @formField('input', [
            'name' => 'meta_title',
            'label' => 'Title',
            'translated' => true,
            'maxlength' => 100,
        ])

        @formField('input', [
            'name' => 'meta_description',
            'label' => 'Description',
            'translated' => true,
            'maxlength' => 200,
        ])
    @endformFieldset
@stop

In the contentFields section, we remove the title and add a block_editor field (the withoutSeparator option just removes a separator displayed before it on the edit page and the blocks option allows to make available a specific list of blocks, otherwise all blocks can be added)

We create a sideFieldsets section where we add our SEO fields

Now we can manage our content in the administration interface. Let's click on the Add new button to see a modal asking us the title of our page (the permalink aka slug is automatically generated but you can edit it). You can fill the information for each language and also change the publication status of your content or for each language):

Content creation - Modal

And here is the form for editing our content:

Content creation - Form

Admin Controller customization

Maybe have you seen on the form screenshot an URL under the title. Twill displays a link to our front-end content based on the domain name, the module name and then the slug of our page. This behavior, and many more things (like the columns displayed in the listing, the default order, ...) can be customized in the admin Controller.

Here is some basic customization:

/app/Http/Controllers/Admin/PageController.php

<?php

namespace App\Http\Controllers\Admin;

use A17\Twill\Http\Controllers\Admin\ModuleController;

class PageController extends ModuleController
{
    protected $moduleName = 'pages';

    protected $permalinkBase = '';

    protected $indexOptions = [
        'reorder' => true,
    ];

    protected $indexColumns = [
        'title' => [
            'title' => 'Page',
            'field' => 'title',
        ],
    ];
}

We add an empty permalinkBase property to tell Twill our pages will be availble directly under the Web root path.

We add indexOptions array property to allow us to order our pages in the administration listing interface (this property allows you to activate or desactivate many features like creation, publication, duplication, deletion, ...).

We add indexColumns array property (even if it's not necessary here as Twill uses title attribute as the default and only column to display). We can later add thumbnails, computed, relationship or presented fields that can be sortable, not visible by default, ...


We now have a basic (for now) but working administration interface to manage content, we will see in later articles how to display it on our front-end with Inertia and get more complex content structure


We'll do our best to provide source code of the serie on GitHub

 
Share this