Infomaniak released a new service on September 28, 2021: Public Cloud, an IaaS based on Debian and OpenStack . It's the infrastructure they already use for their own services, hosted in Switzerland and committed to a sustainable economy and customer privacy (ISO 14001, ISO 50001, ISO 27001).
Laravel Forge is a server management solution for easy provisioning, management and deployment of PHP applications (push to deploy, accessible configuration, database backup, SSL certificates, ...) provided by the Laravel squad.
As Laravel Forge doesn't support Infomaniak as a provider (for now), there are some additional steps to make it work together.
We assume you already have an account on Laravel Forge, Infomaniak and that you created a project on the Public Cloud service.
Here are the steps to have a running and managed server:
Infomaniak Public Cloud
Create and launch your Instance in Infomaniak Public Cloud
Once you are on your project page, go to Compute > Instances menu and click on Launch Instance button.

You now have a modal window requiring information you have to fill in multiple steps:
Details (basic information)
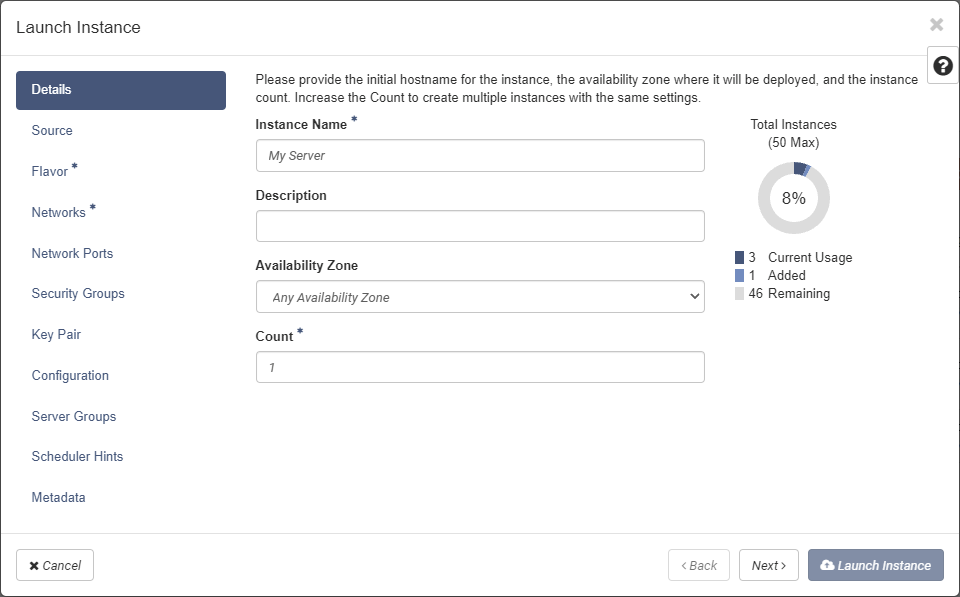
Just give your Instance a name (and a description if you want). You don't need to set an availability zone.
Source (OS to install)
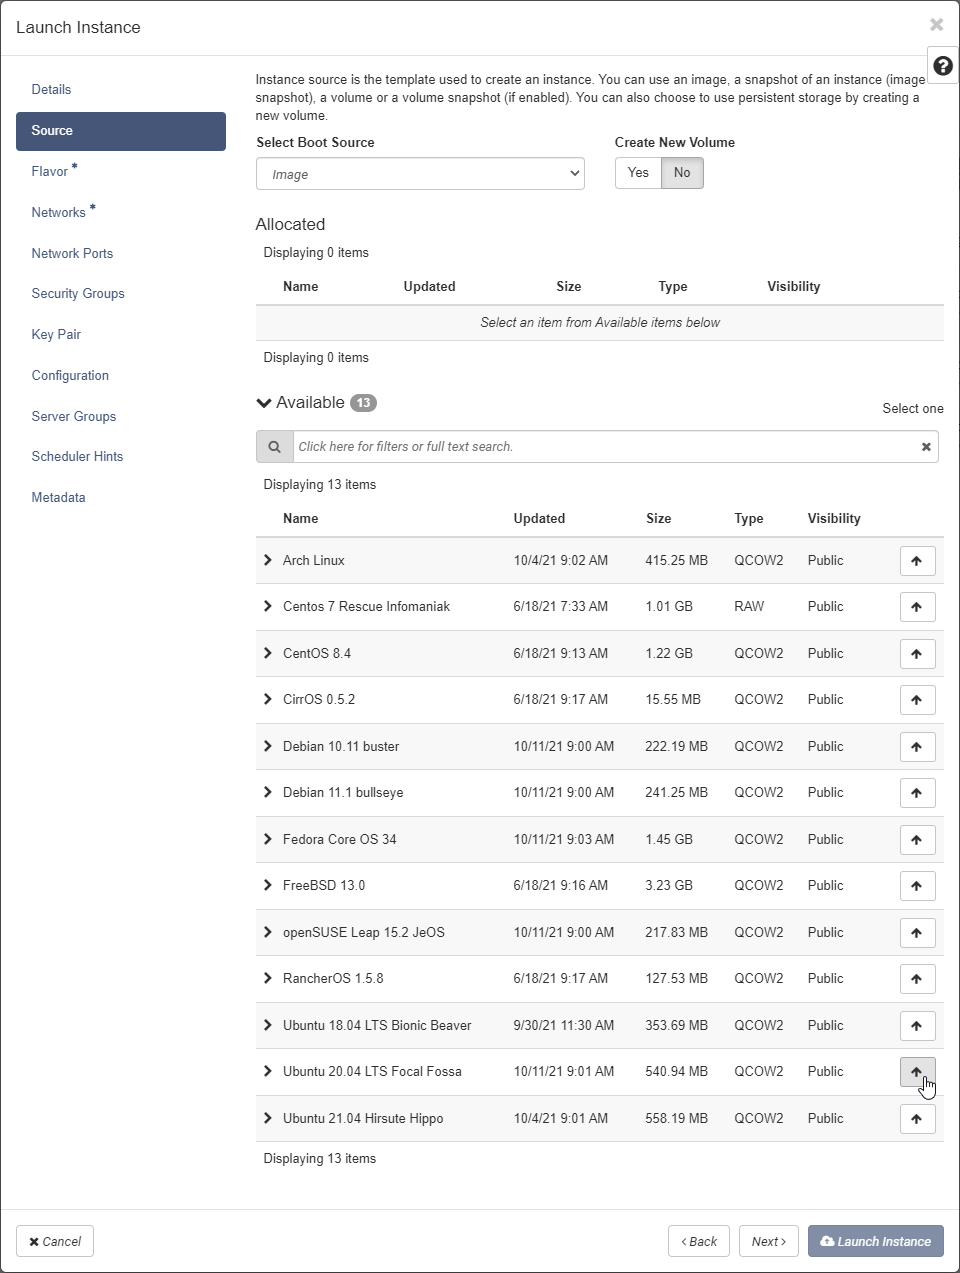
Laravel Forge supports Ubuntu 20.04 x64 and Ubuntu 22.04 x64: add Ubuntu 22.04 LTS from the list if your application needs at least PHP 8.1 version, otherwise add Ubuntu 20.04 x64.
Flavor (ressources of the Instance)
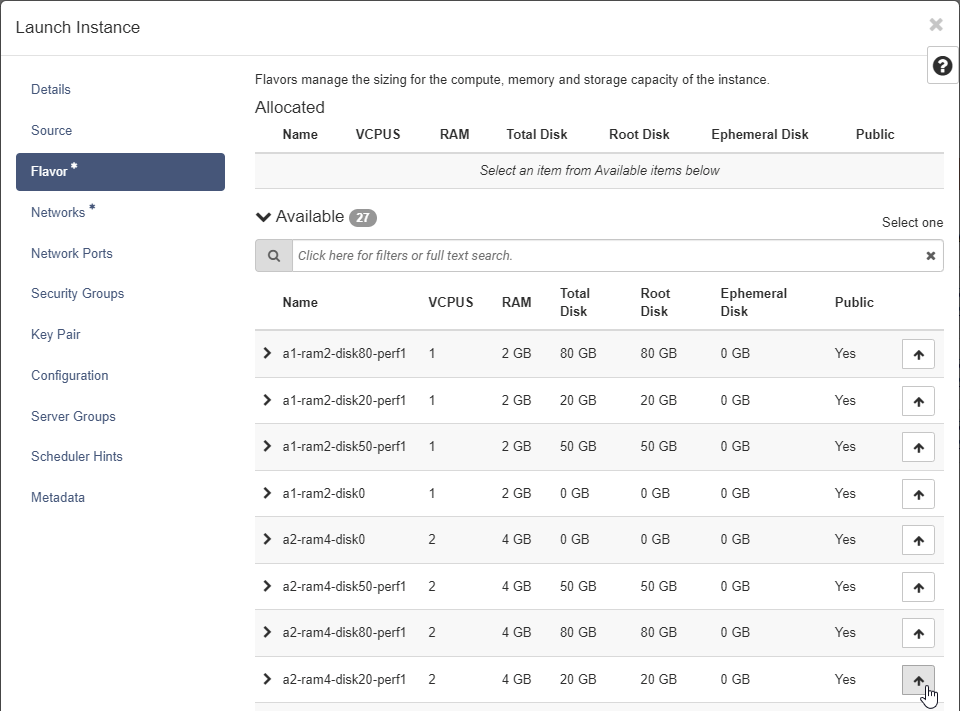
Here you have to choose the flavor of your Instance (CPU, RAM, storage). You can find the pricing for each Instance flavor here: https://www.infomaniak.com/en/hosting/public-cloud/prices
Networks
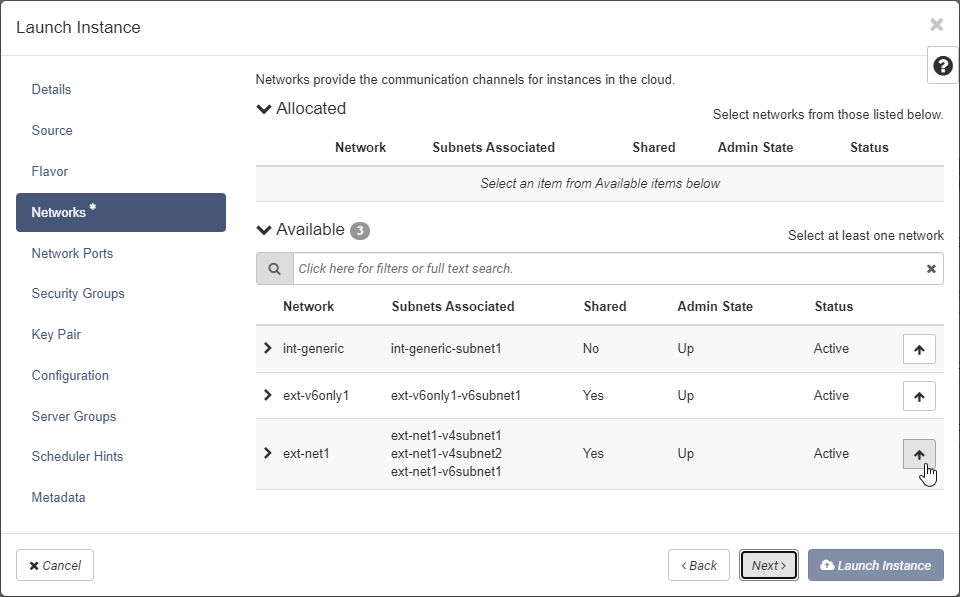
Select the provided Infomaniak IPV4 external network ext-net1.
Network Ports
Nothing specific to do here.
Security Groups
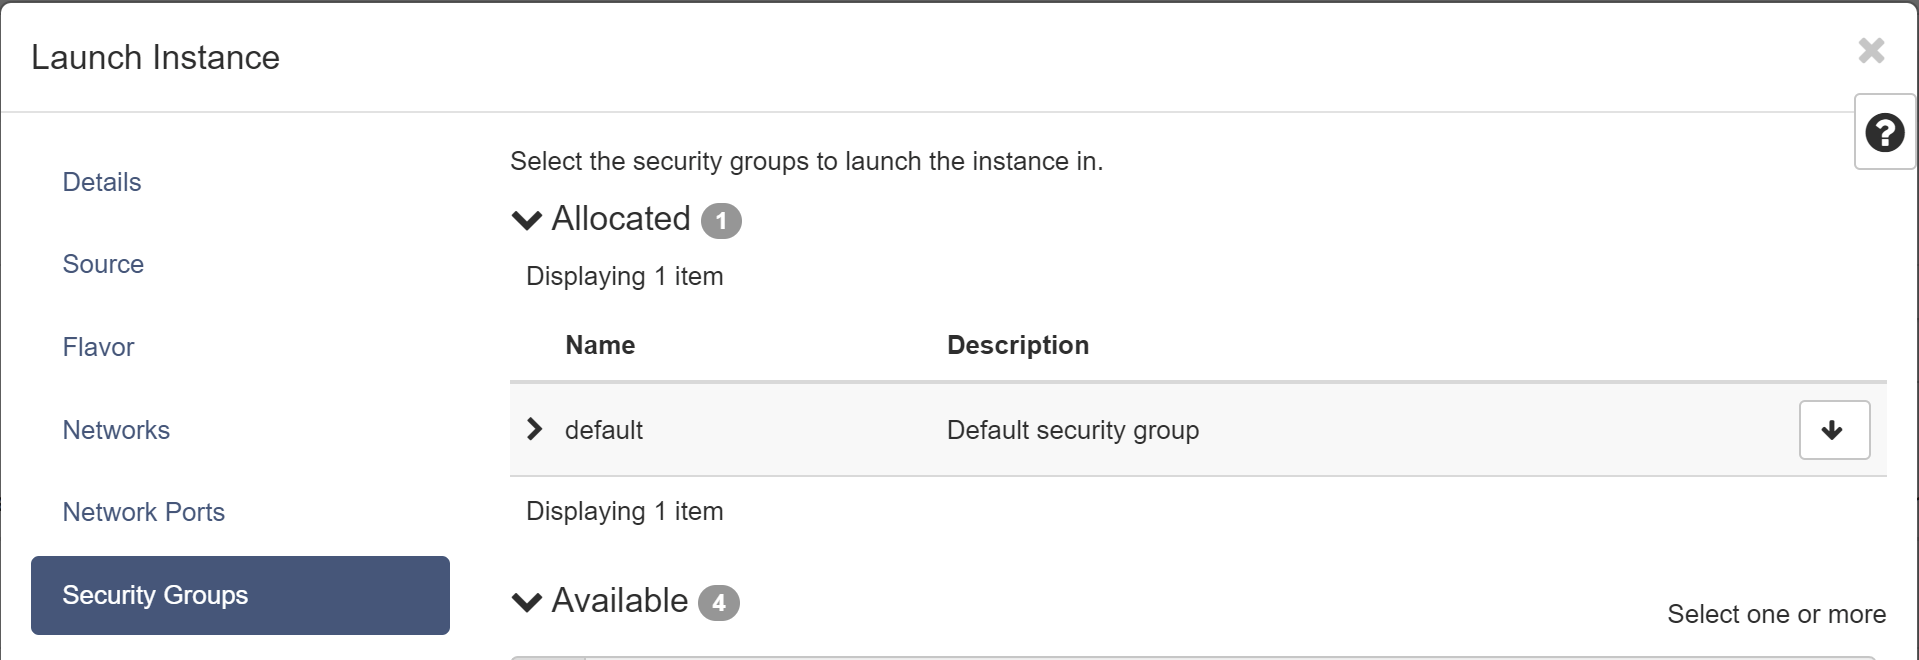
Here you define the opened ports (entering and exiting) and authorized IP addresses of your Instance, using Security Groups feature.
Keep default, for now you will create and add ssh (to allow Laravel Forge to manage your Instance), http and https (to make your Web application reachable) access afterwards.
Key Pair
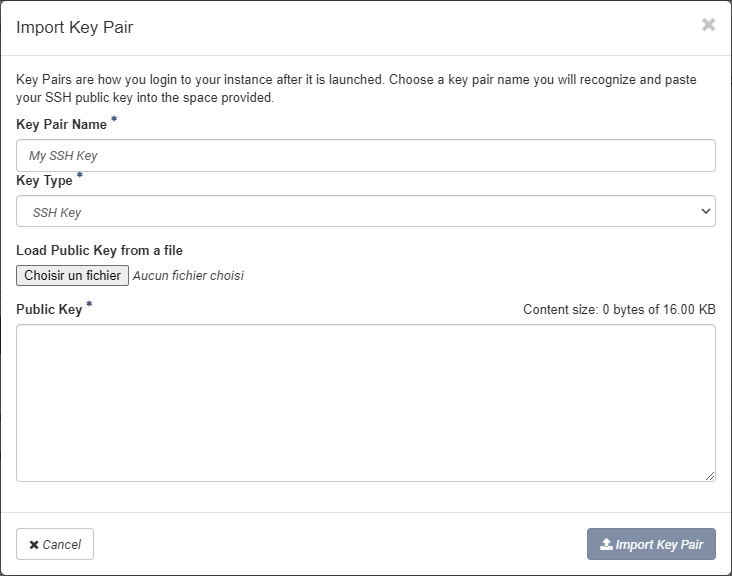
If you didn't add a SSH key previously, you can import it here.
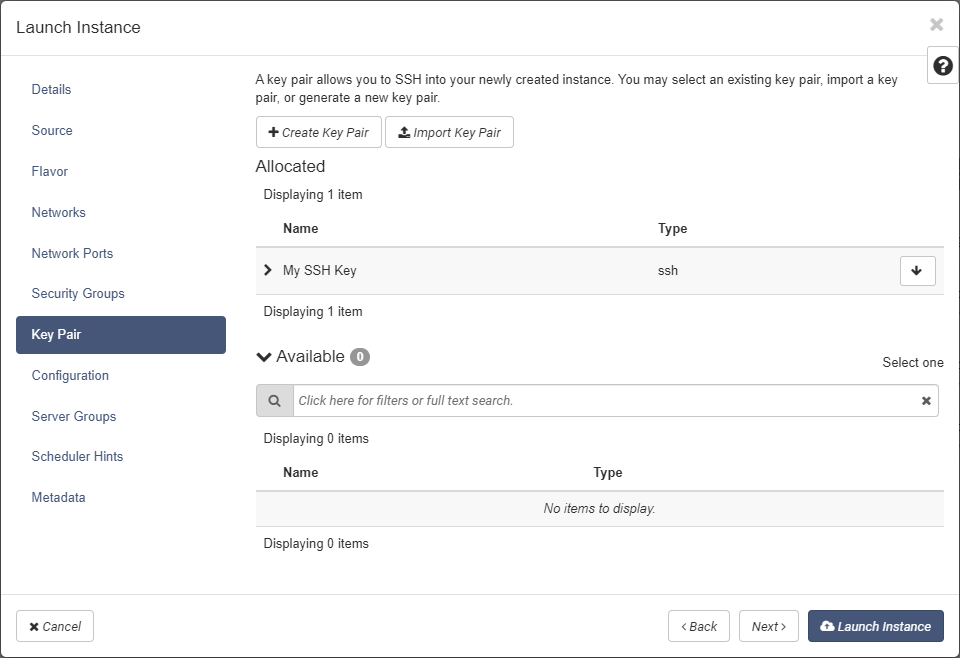
You can now associate it to your Instance.
Configuration
Nothing specific to do here.
Server Groups
Nothing specific to do here.
Scheduler Hints
Nothing specific to do here.
Metadata
Nothing specific to do here.
Launch the Instance
All is now set, you can launch your Instance
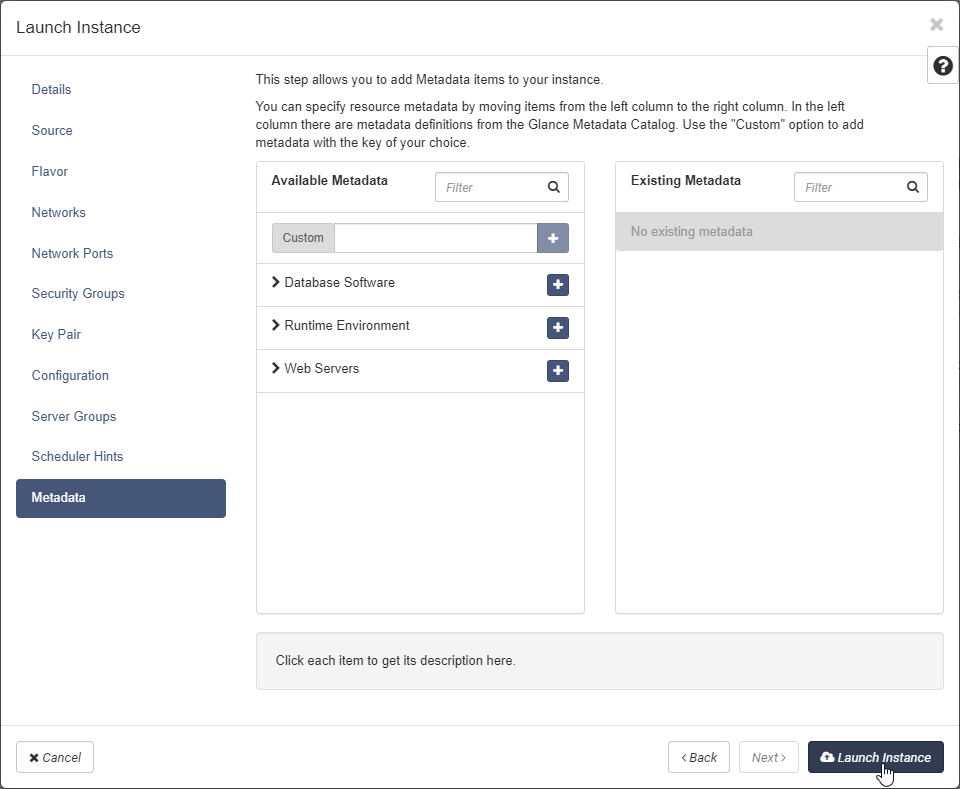
and see it running a few seconds later.

Add SSH and Web access to your Instance
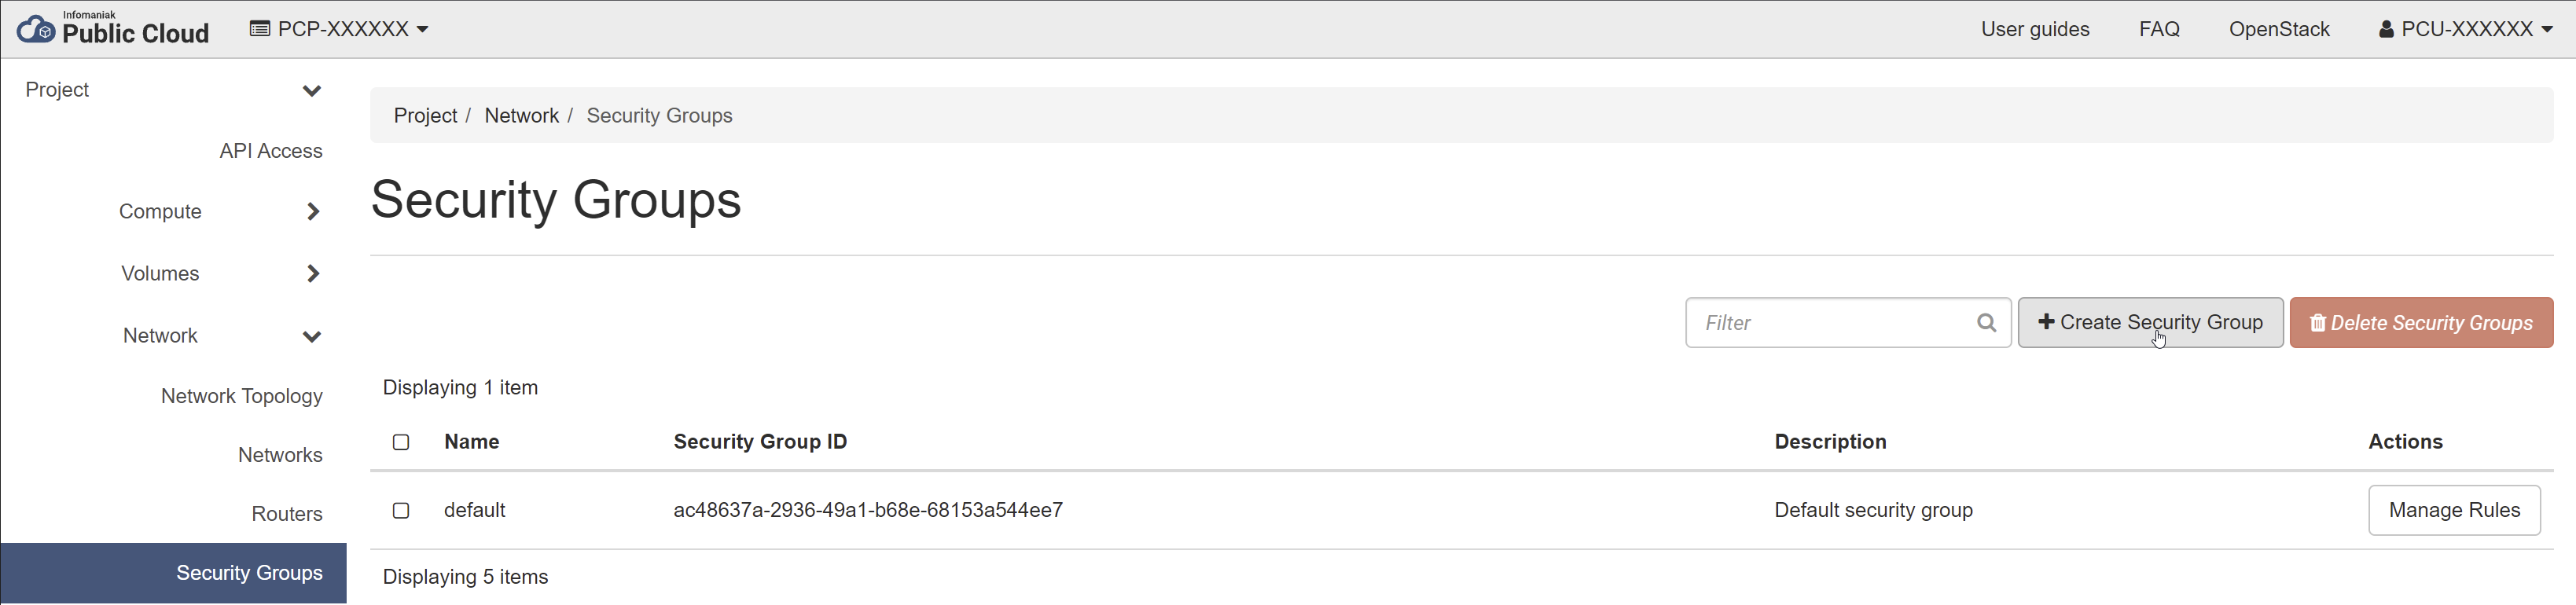
On a fresh Infomaniak Public Cloud project, there's no Security Groups created to allow SSH and Web access, you have to create them (you will be able to reuse them on the other Instances you will create in your project afterwards).
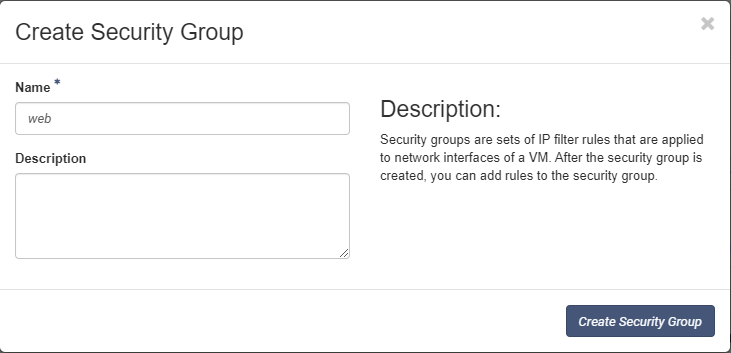
To do so, go to Network > Security Groups menu and click on Create Security Group button.
SSH
On the opening modal window, give your Security Group a name (and a description if you want) and click on Create Security Group button.
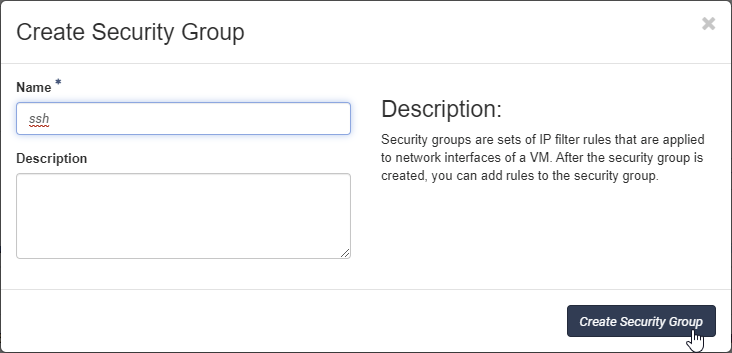
By default, the Security Group gives exiting (Egress) access to any IP on any port. You don't need those rules as they already are set in the default Security Group, you can then delete them.
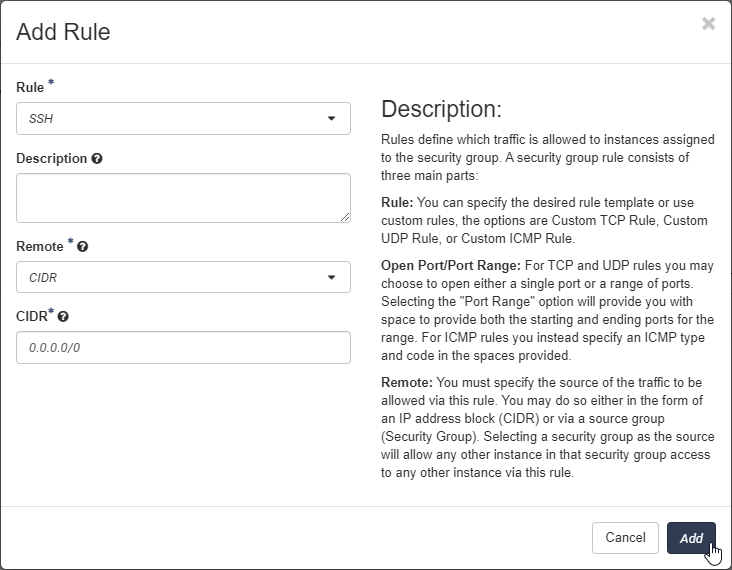
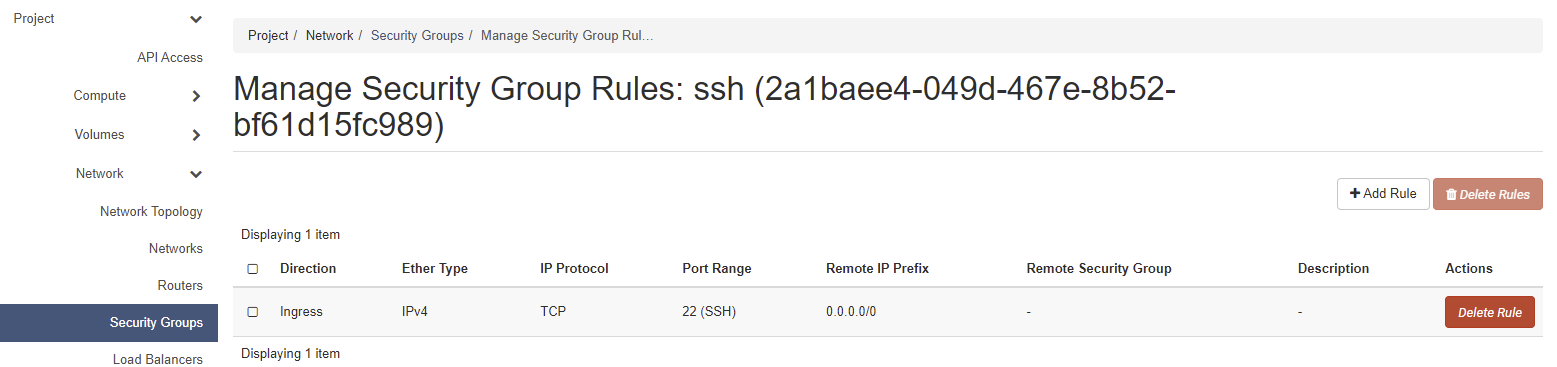
You can now add the Rule you need, so click on Add Rule button.
On the opening modal window, you can see a predefined list of protocols, select SSH. You can also filter the allowed IP addresses (for Laravel Forge and your own IP addresses for example, you will allow everybody for the moment).
Web
Follow the same steps as for SSH for the Security Group creation and default Rules deletion.
Then, for this Security Group, you will add 2 Rules (that are also predefined):
- HTTP
- HTTPS
As you want everybody to have access to our Web application, you don't filter IP addresses.
Add the Security Groups to your Instance
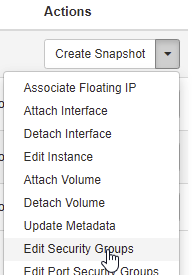
You can now go back to the Compute > Instances menu, and in the Actions column of your Instance, click on Edit Security Groups
You can now add your ssh and web Security Groups:
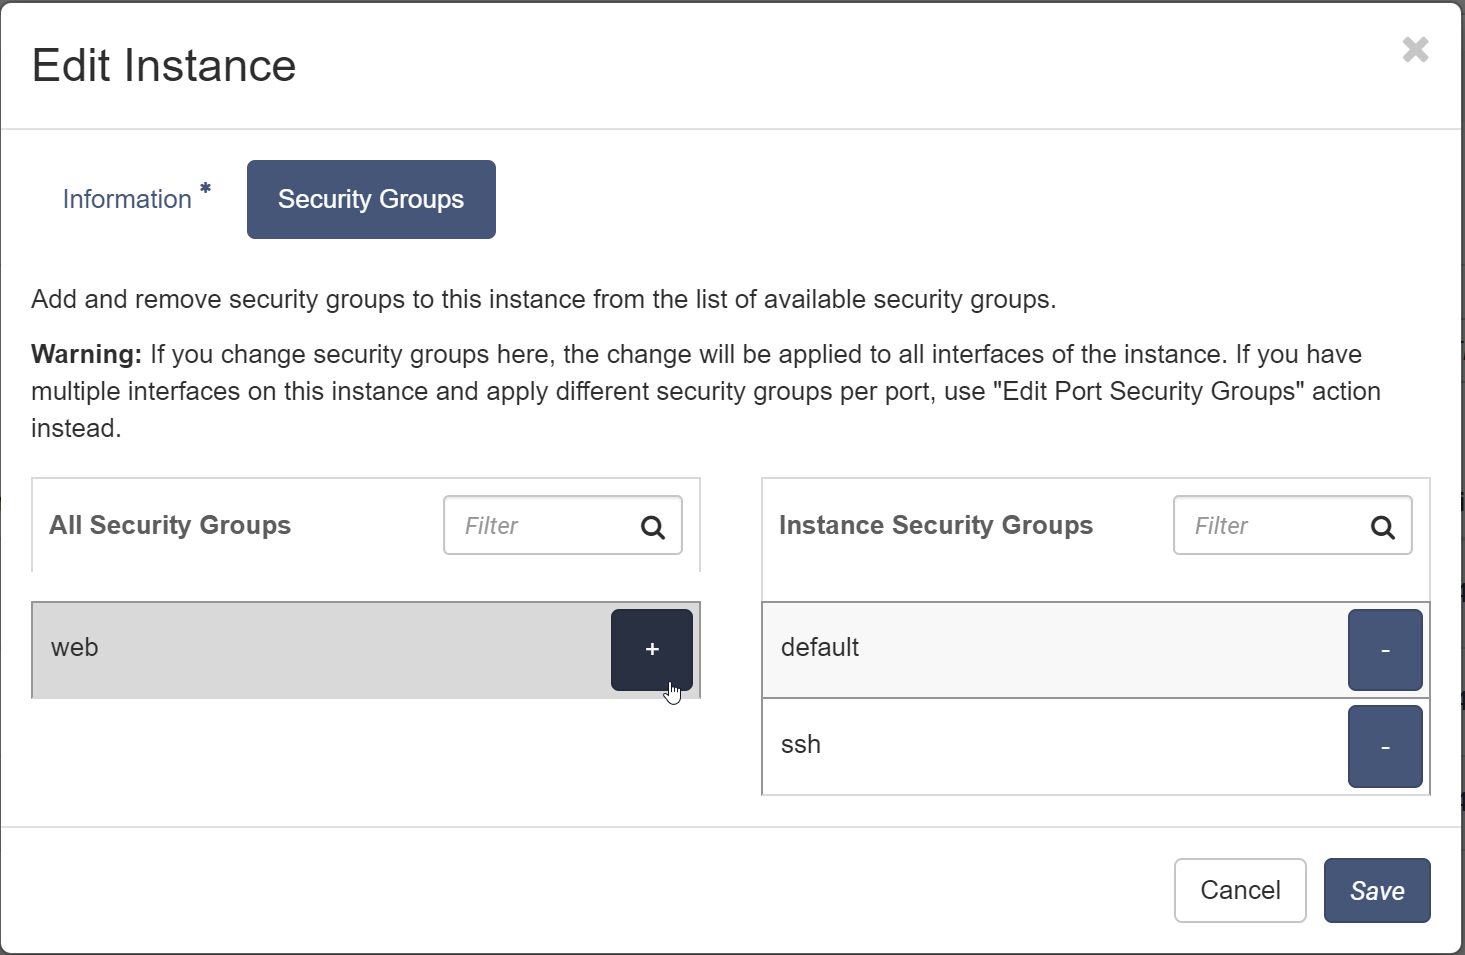
Once saved, the rules are instantly applied. All is done now for the Infomaniak Public Cloud part (and it will be quicker for the next Instances, as you'll be able to add the ssh and web Security Groups directly on Instance creation).
Laravel Forge
Create the Server
On the Server creation section, select Custom VPS.
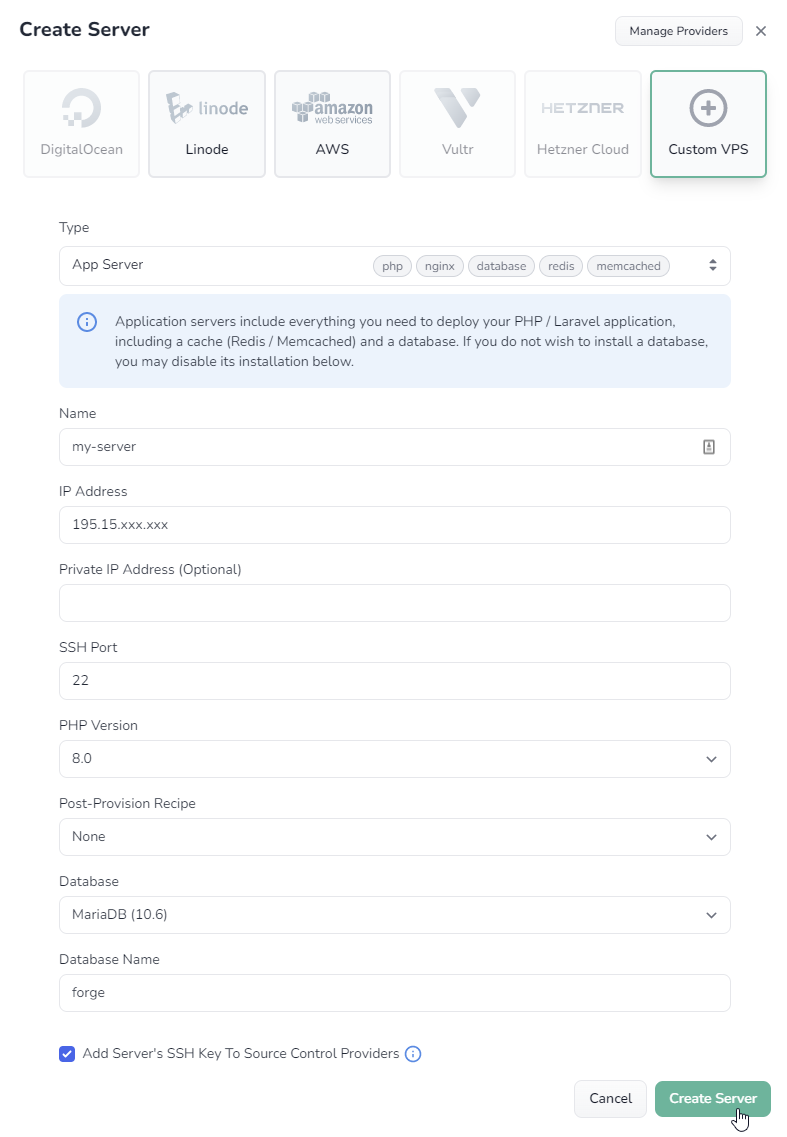
On the form that appears:
- Select the type of the Server: App Server (including all the softwares needed for a Web application), or you can also split your application in multiple Servers / Instances
- Give your Server a name (maybe the same as your Infomaniak Public Cloud Instance is a good idea?)
- Set the IP address of the Server (that you can find in the Infomaniak Instances list)
- Change the PHP version and Database type if you want
- Click on Create Server button.
Provision it
You will now see a modal window where you can find:
- The script provided by Laravel Forge to set up your Server and make it fully managed
- The passwords for sudo and the Database (if you choose a server type that includes a Database).
Don't click on Close too quickly and keep those information somewhere secure.
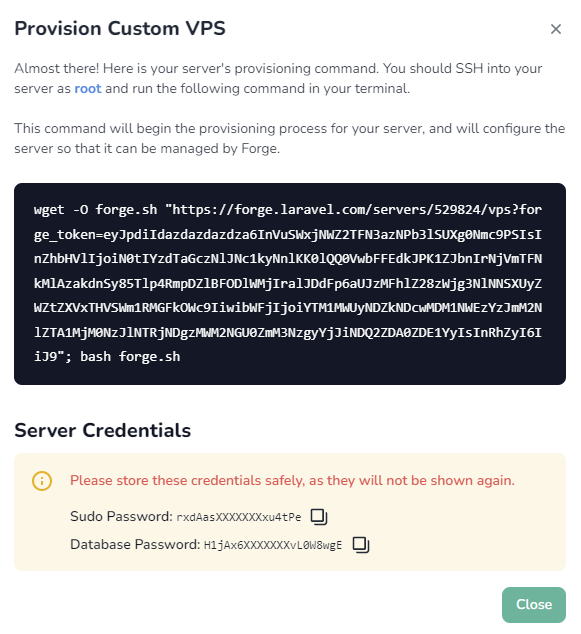
For a supported Provider, Laravel Forge runs the script automatically without requiring any further action from you. But with Custom Providers, it is to us to run it manually, so:
- SSH into your Instance (or Server, or whatever you want to call it)
ssh ubuntu@195.15.xxx.xxx - Use sudo to be root
sudo -s root@my-server:/home/ubuntu# - Run the provisioning command
wget -O forge.sh "https://forge.laravel.com/servers/XXXXXX/vps?forge_token=xxXXxxXXXXxxxxXXXxxxXXXxxxXXXXXXxxxxxXXxxXXXXxxxxXXXxxxXXXxxxXXXXXXxxxxxXXxxXXXXxxxxXXXxxxXXXxxxXXXXXXxxxxxXXxxXXXXxxxxXXXxxxXXXxxxXXXXXXxxxxxXXxxXXXXxxxxXXXxxxXXXxxxXXXXXXxxxxxXXxxXXXXxxxxXXXxxxXXXxxxXXXXXXxxxxxXXxxXXXXxxxxXXXxxxXXXxxxXXXXXXxxxxxXXxxXXXXxxxxXXXxxxXXXxxxXXXXXXxxxxxXXxxXXXXxxxxXXXxxxXXXxxxXXXXXX&recipe=";
bash forge.sh
If you go back to Laravel Forge and look at your Server, you should now see it being prepared.
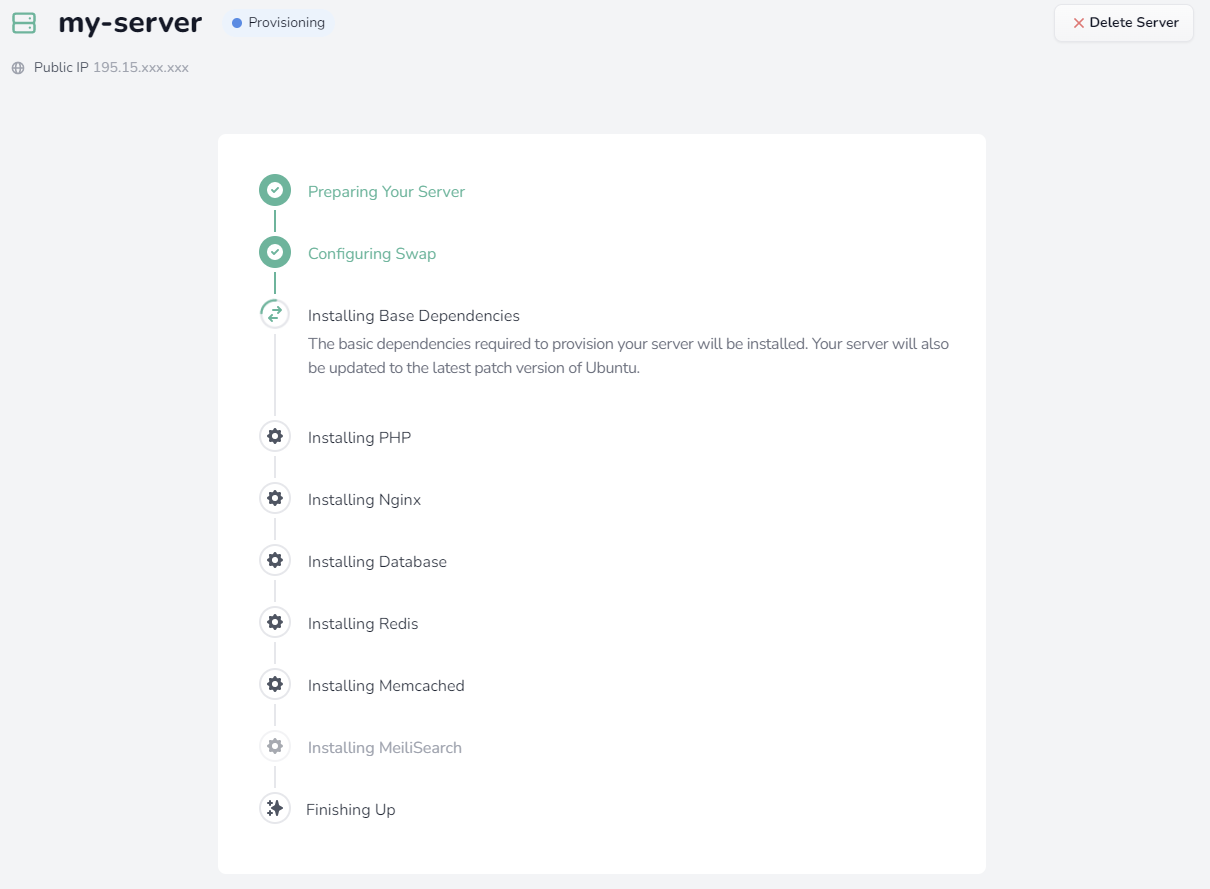
🙌
Here you are, the Instance is running, installed, configured, managed and the default Laravel Forge site is deployed, you can open a browser and go to your Instance IP address to confirm
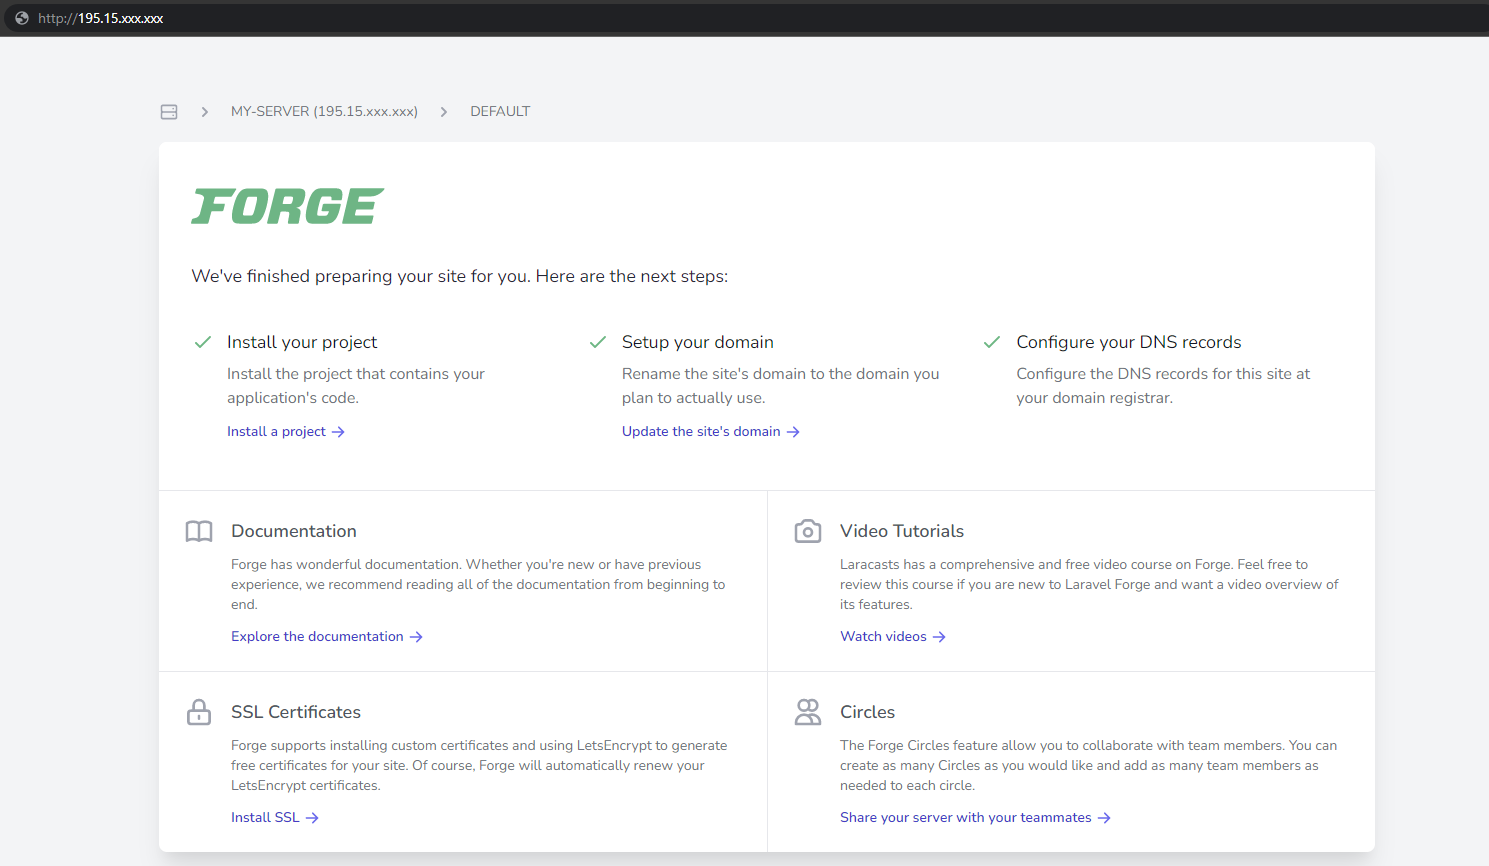
And of course, you can now deploy your PHP application and enjoy the Infomaniak infrastructure and Laravel Forge quick deploy feature!
Comments
Join the discussionNo comments yet. Be the first to comment.